IDEATIONS
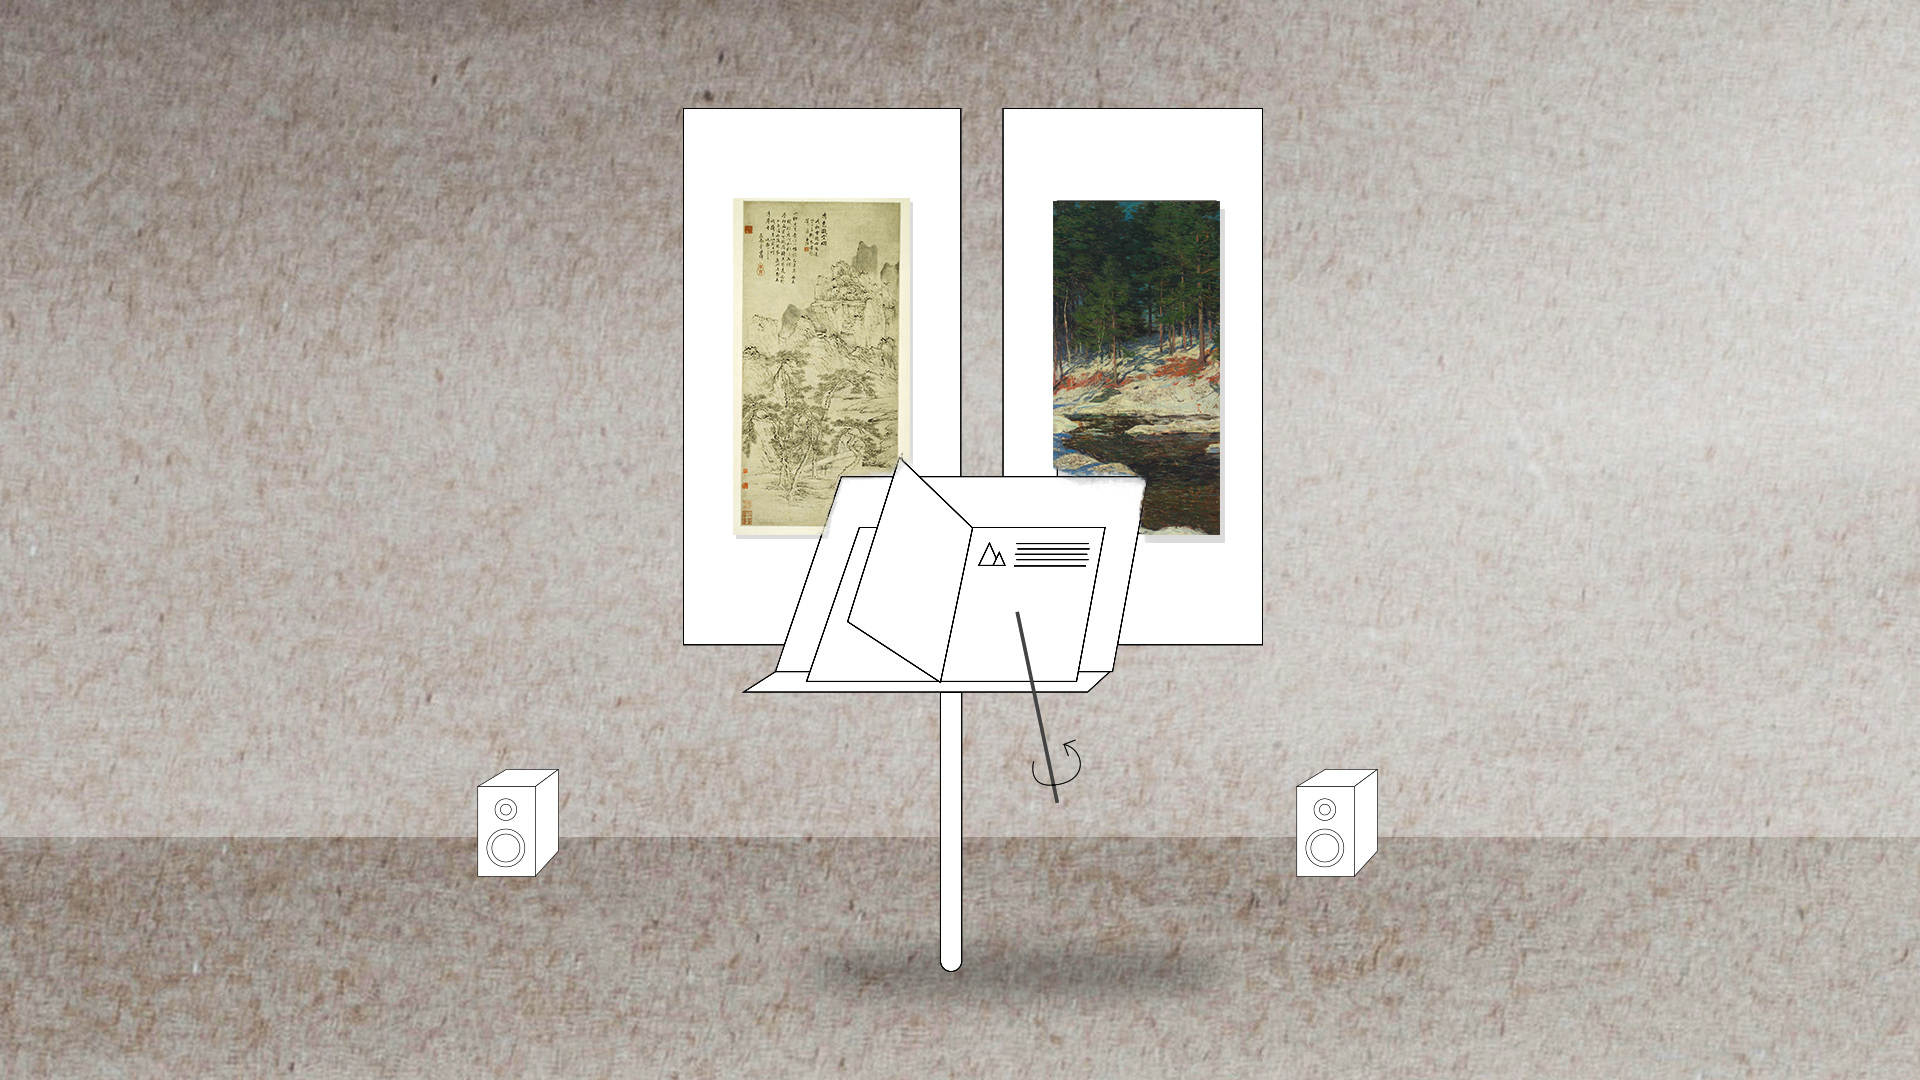
In this project, we want to offer a different approach of appreciating paintings. A painting is made up of different elements, which combine together to shape a unique personality. Similarly, in an orchestra, the conductor guides different instruments in a band to make harmonious music. By using synesthesia, we want the user to have a new integrated experience of conducting drawings.
The user will pick up the baton to wake different elements of the drawing up and turn it into a musical piece. He then can conduct the music by changing his gesture . There will be two drawings in our project. One is a Chinese traditional drawing while the other is a western landscape drawing. Together they provide a scene of how painting personality differs.
First round of PROTOTYPE & USER TEST
01 FIRST ROUND OF USER TEST
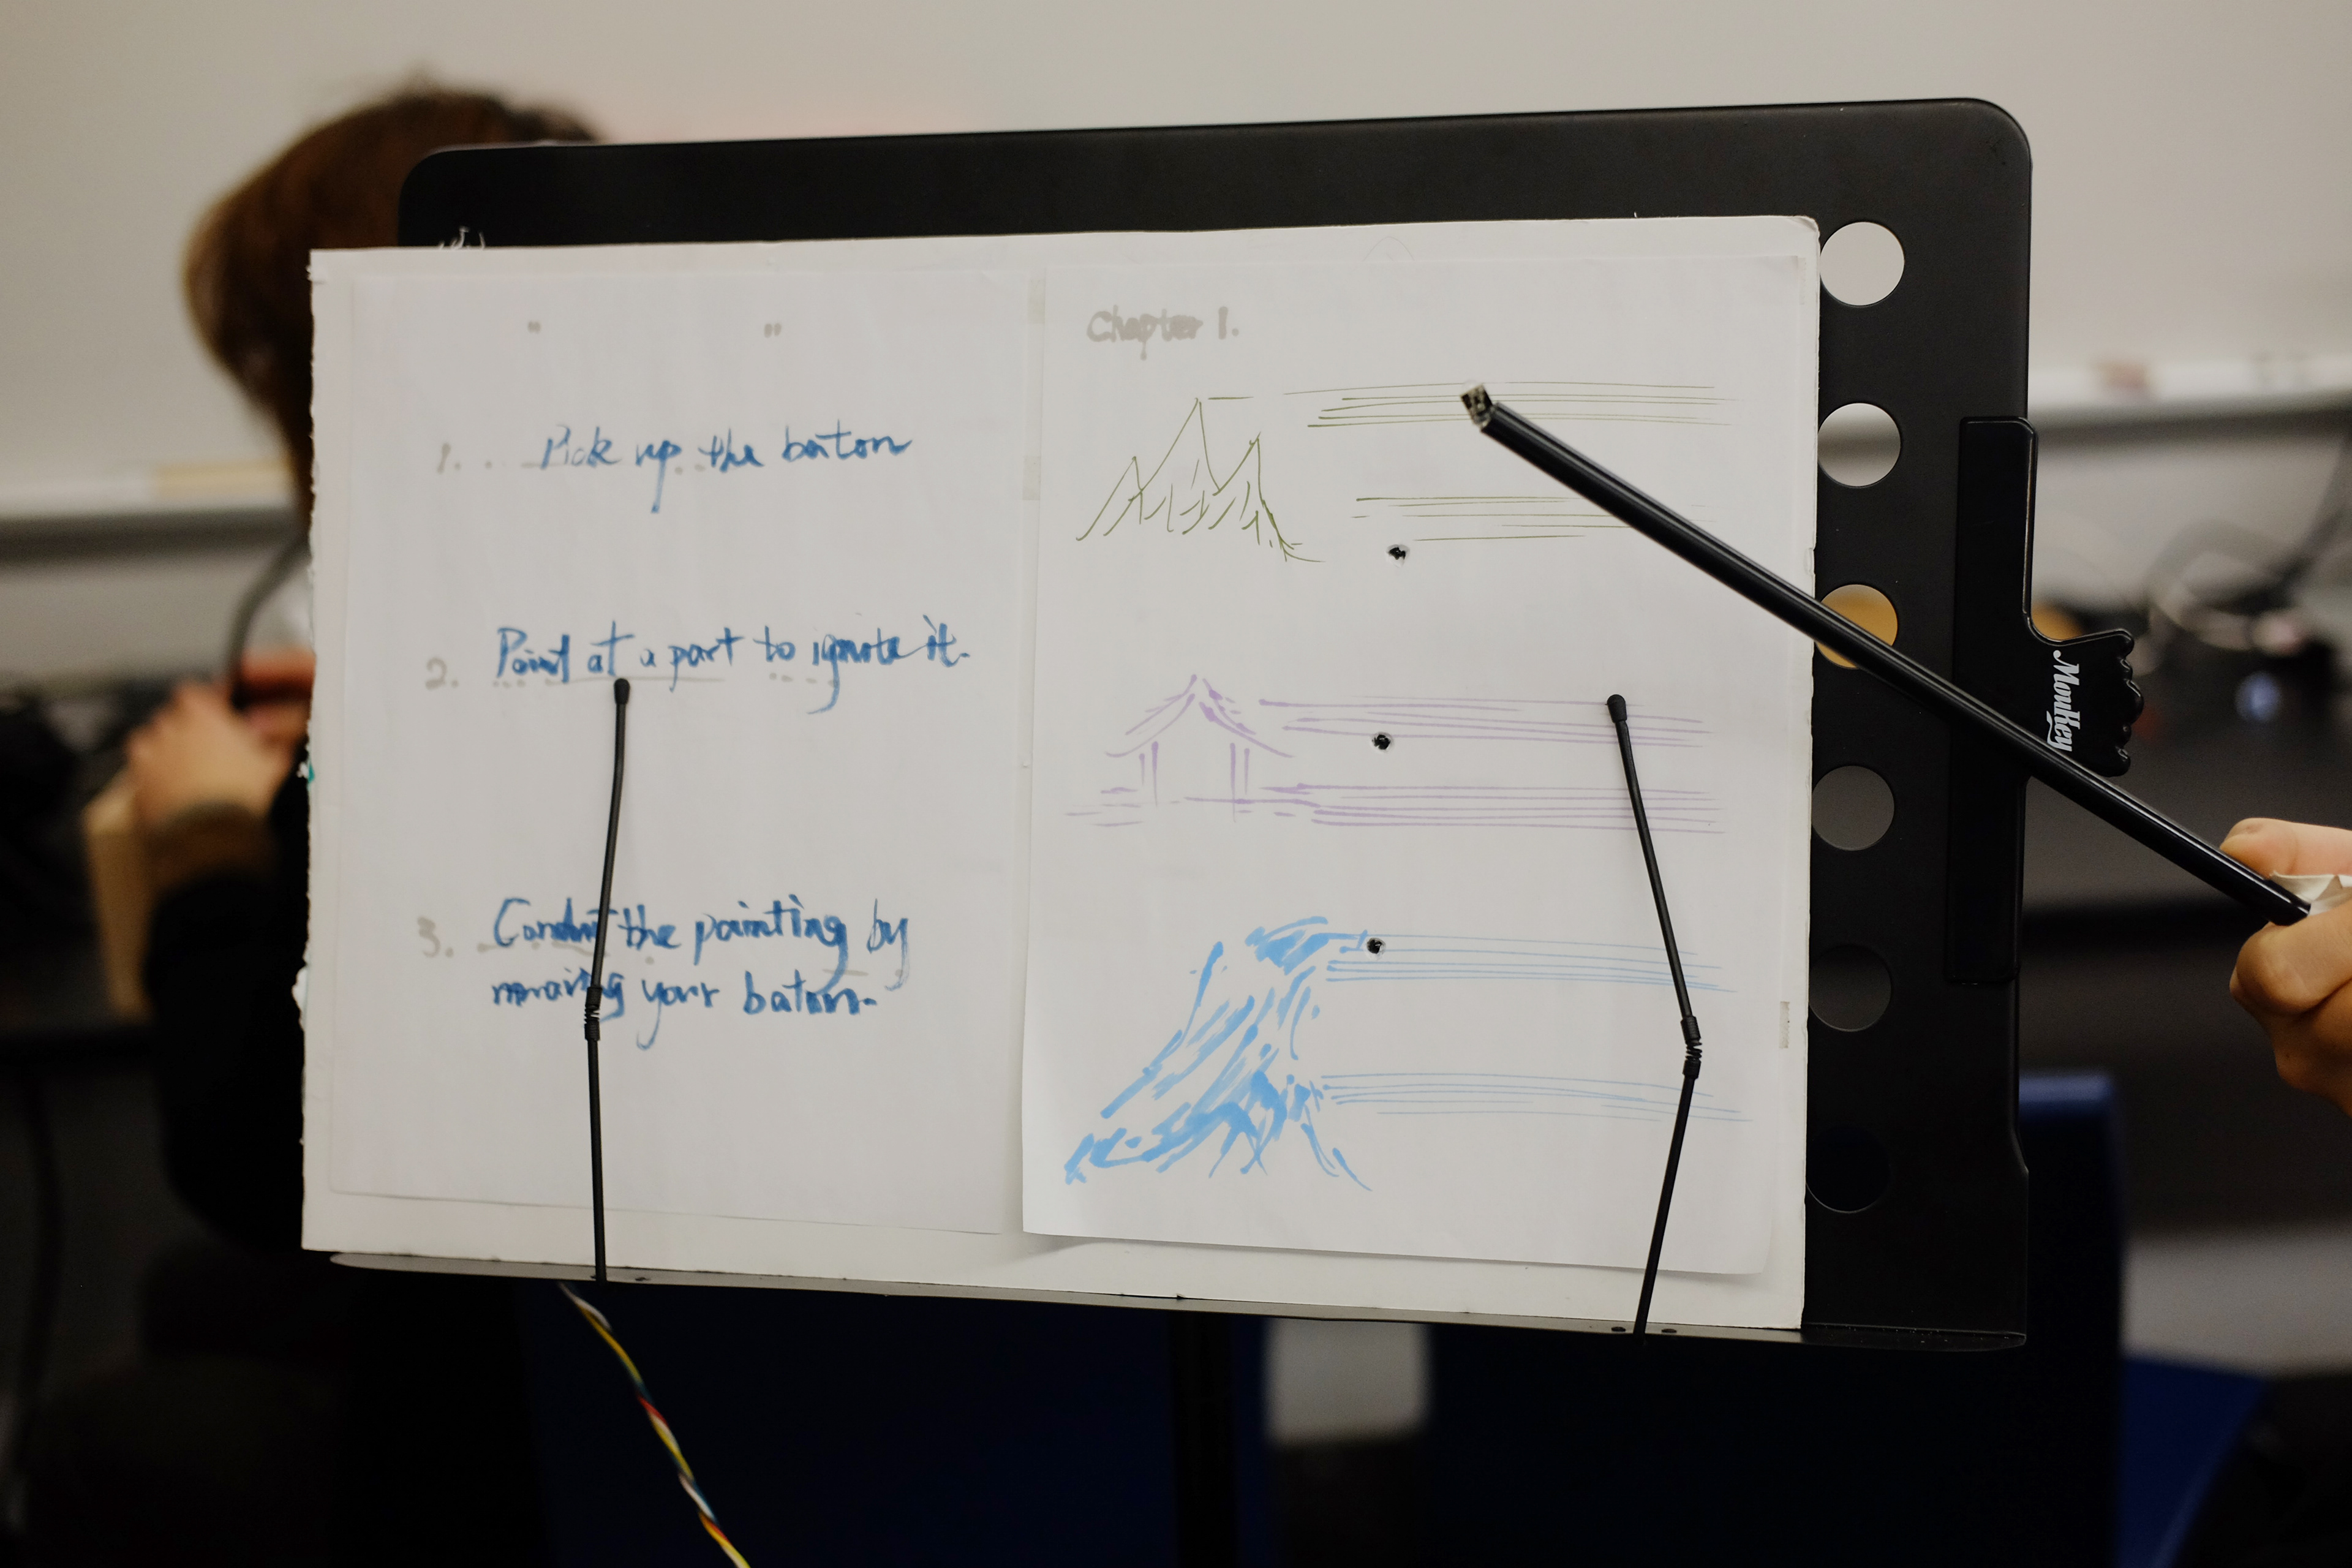
We prototyped with cardboard for the first version of user test. We let tester tried our prototype and noted down their confusion in different stages of user flow.

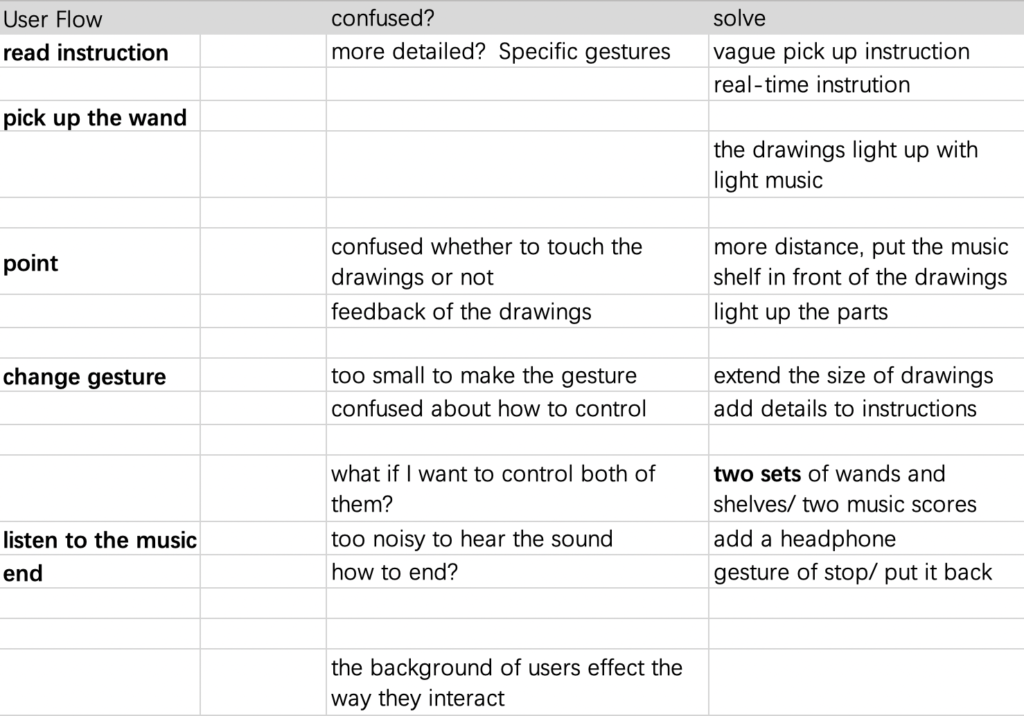
People are confused when we mention about hanging two painting. They feels they can control both paintings at the same time but they are not allowed to, because our intension is to let user appreciate and conduct each painting separately.
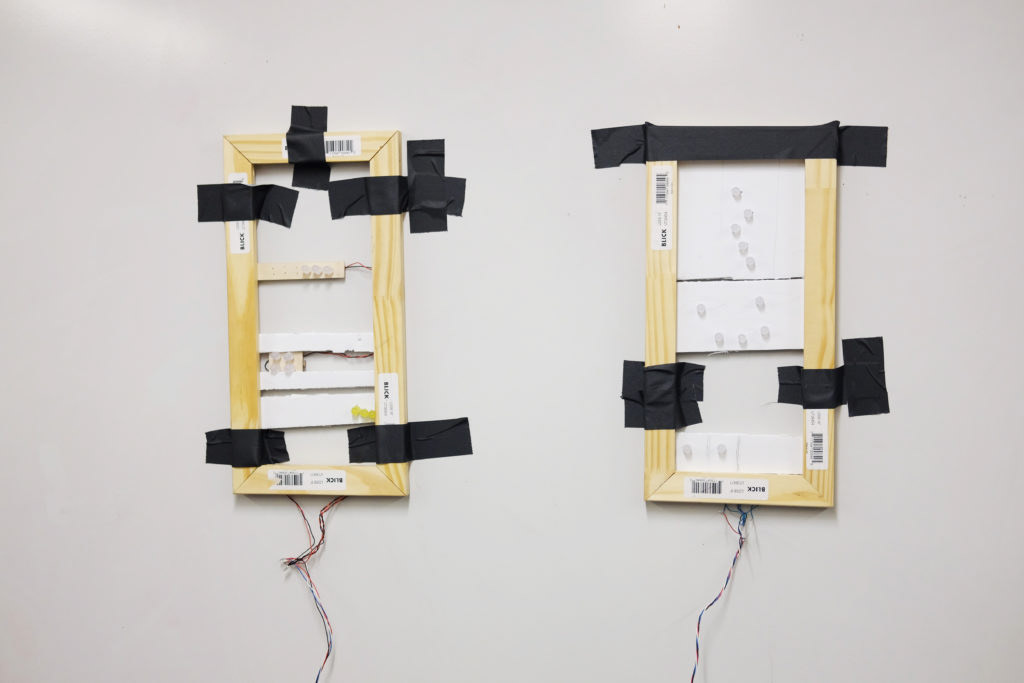
Therefore, instead of having 6 IR sensor on two separate notes, we will only have 3 IR sensors, and users are only able to see one note at a time. The way people choose which painting to interact with is through turning the pages. Also, instead of having a reset button, we want the action itself, turning the page, switch off everything and reset, so user can start interact with the next painting. In order to do that, We place two photoresistors at each side. When one sensor exposed to light and the other is blocked, meaning that the note on the exposed side is selected, the LEDs and sounds reflecting that note will be ready for interaction. When both sensors are exposed, meaning users are Turing pages, all of the LEDs and sounds will be switched off.
DESIGNING THE CIRCUIT
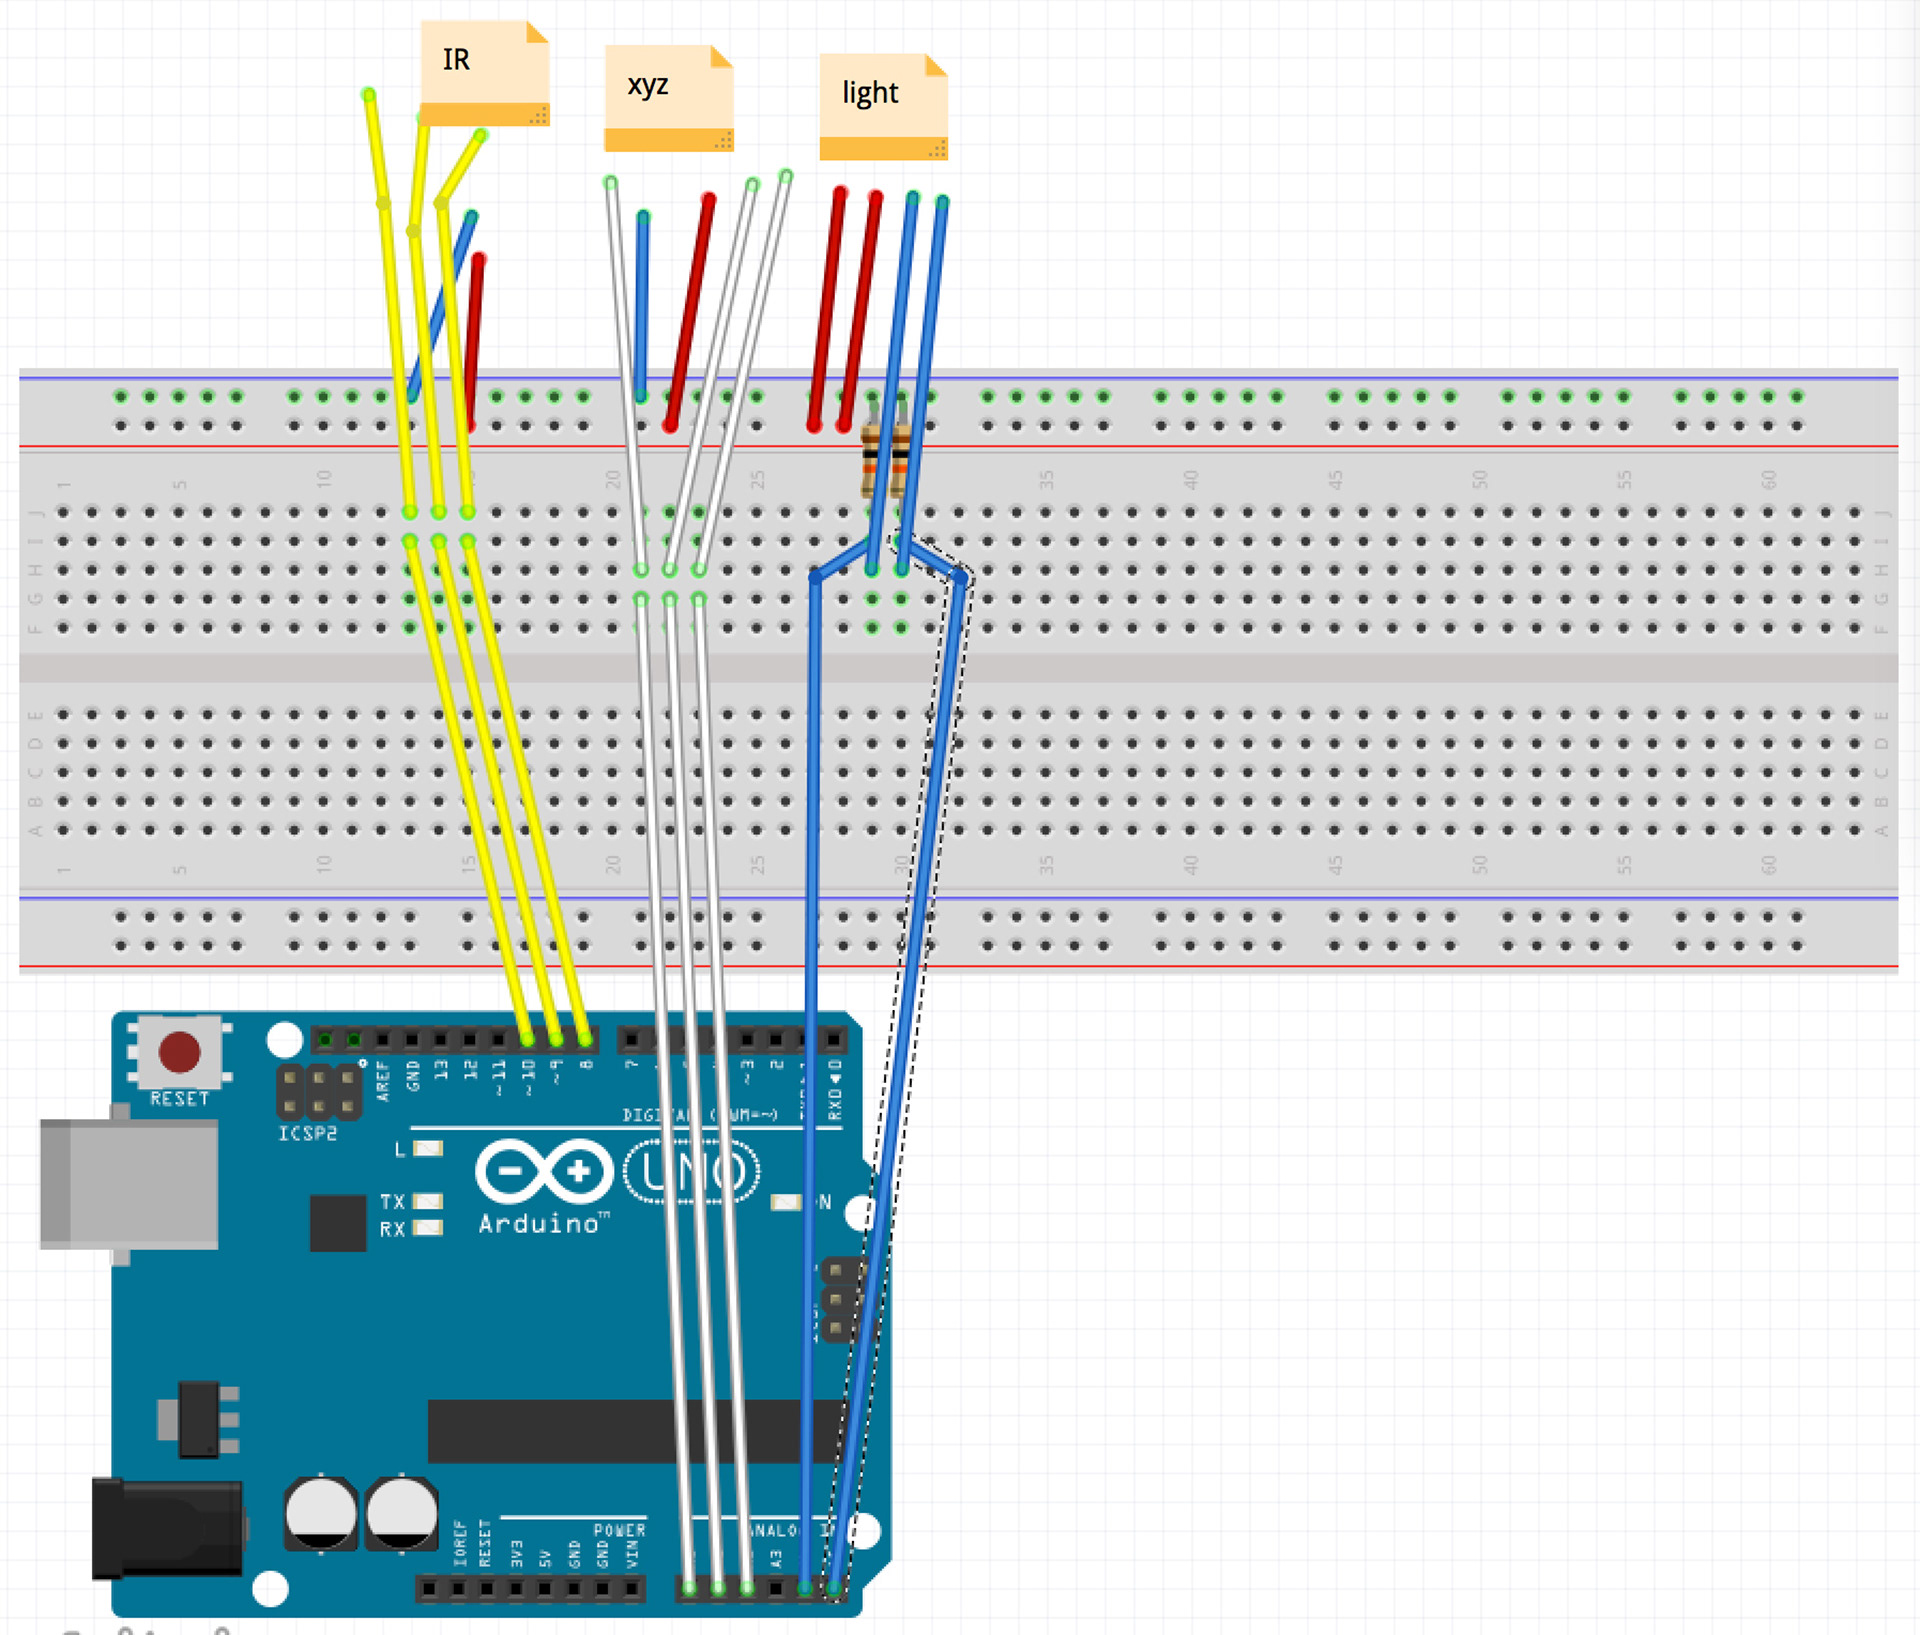
The Arduino will always sent 6 values, the first 3 values represent acceloration on X-axis, Y-axis, and Z-axis, The next three values represent the statue of three scores, 0 means nothing is selected, 1 means the score on the first painting is selected, and 2 means the second.
1 Switch the drawing
Two drawings have their own music. In order to switch the drawing, we place two photo-resistors at each side of the music score. When one sensor exposed to light and the other is blocked, meaning that the note on the exposed side is selected, the LEDs and sounds reflecting that note will be ready for interaction. When both sensors are exposed, meaning users are Turing pages, all of the LEDs and sounds will be switched off.
02 Conduct the music
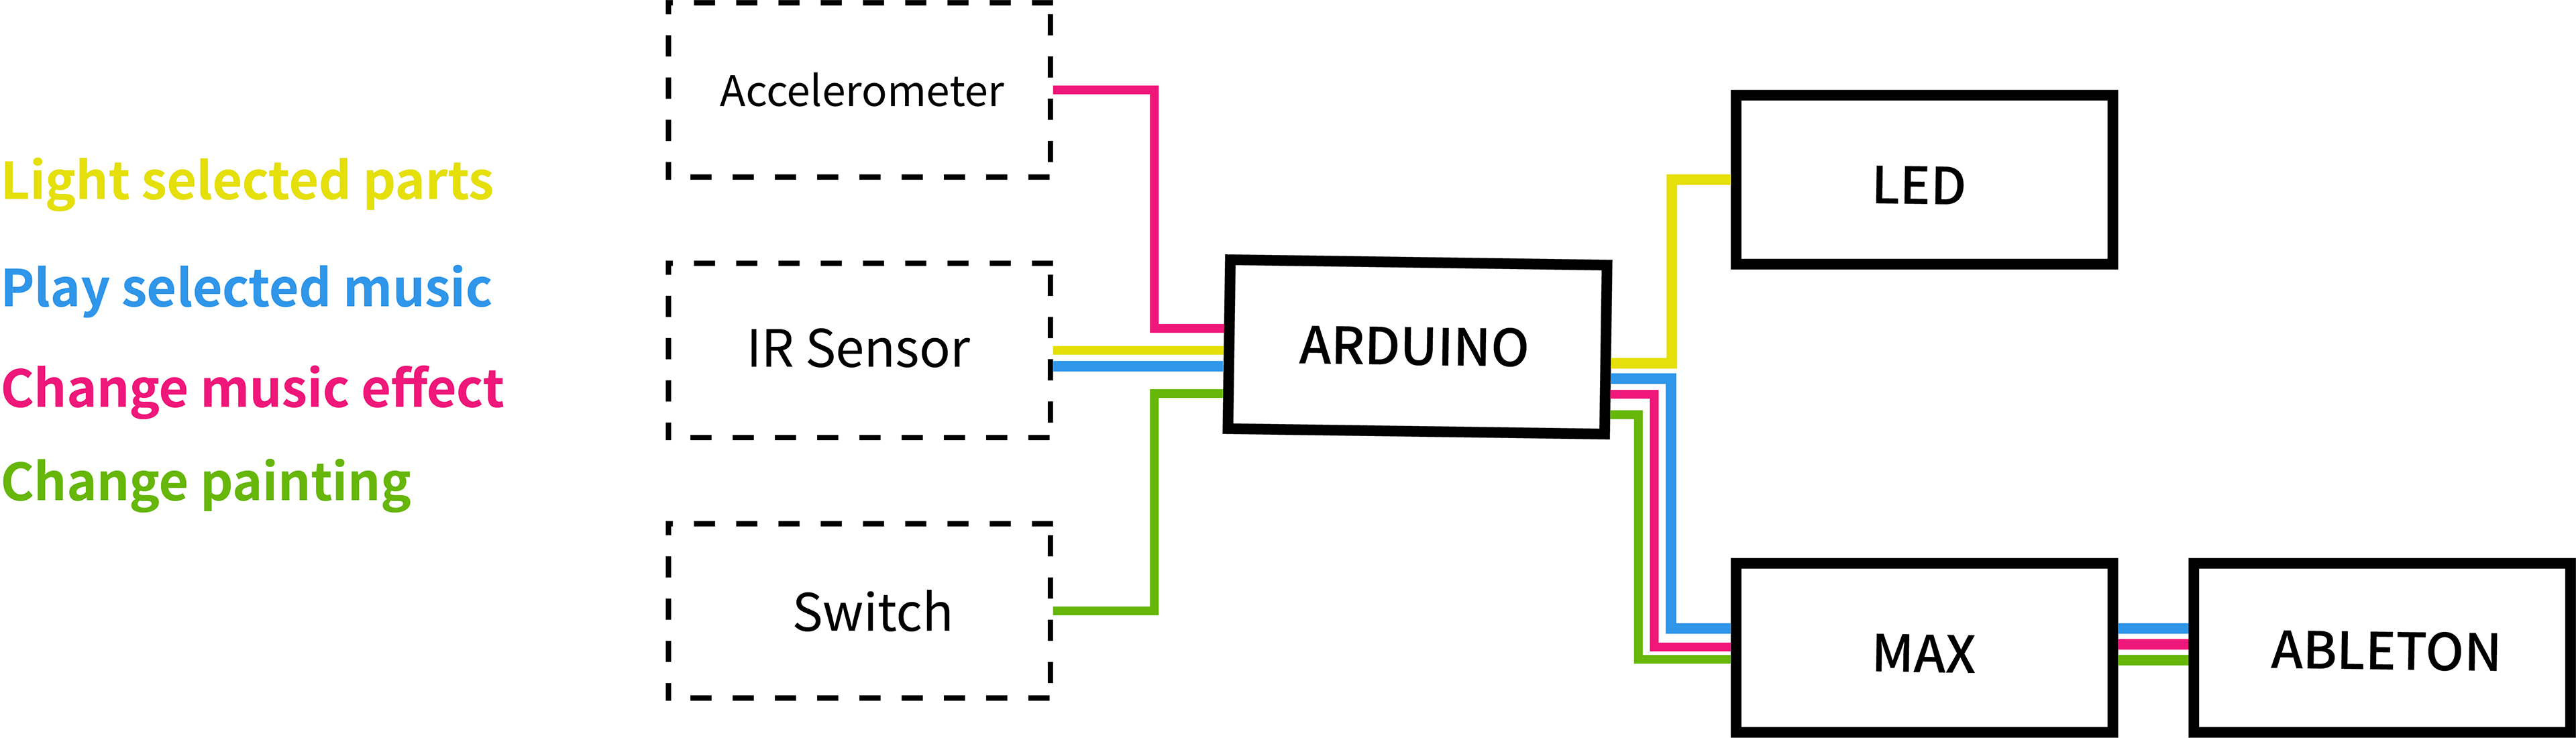
We use IR-beam sensor to turn a track of music on and off and xyz acceleration sensor to change the synthesizer of the music. The Arduino will always sent 6 values, the first 3 values represent the statue of three scores, 0 means nothing is selected, 1 means the score on the first painting is selected, and 2 means the second. The next three values represent accelation on X-axis, Y-axis, and Z-axis. Max takes in the values and sends them to Ableton.
The arduino code we wrote based on IR Sensor library, accelerometer sensor's library in arduino.
MAX/MSP's code and Ableton live's music are fully original
Our electronic diagram:
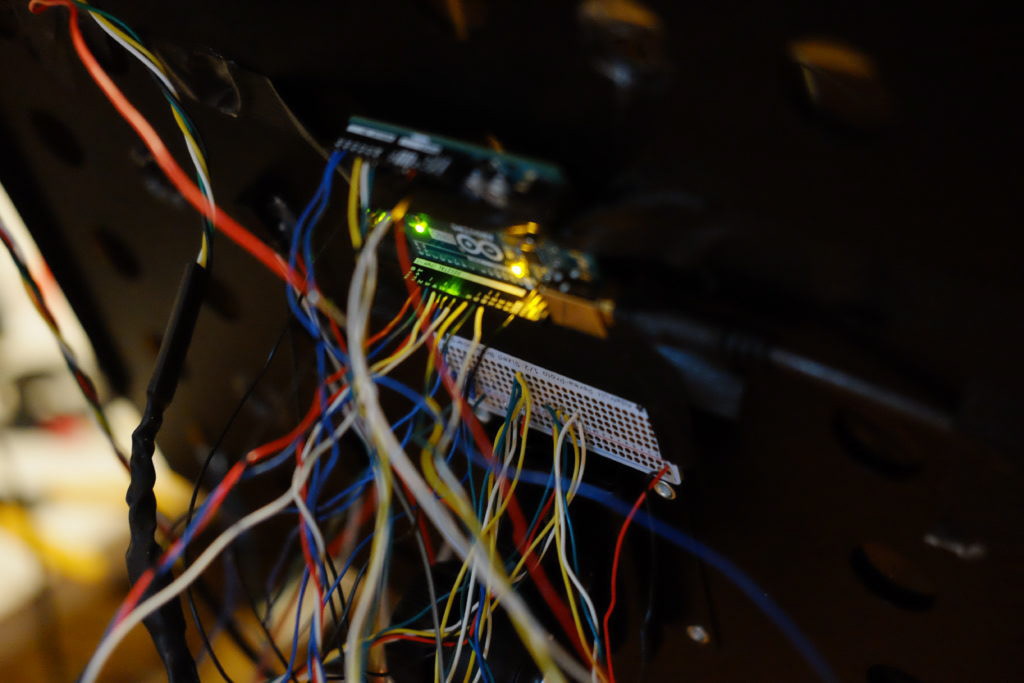
To improve the handling of our baton, we tried connect with a HDMI cable. The wires inside the HDMI are too thin to break. So we just got some flexible cables and use heat-shrink plastic to protect the pinch points.
And the roadblocks that we really didn't see that coming is that during our 2 round of user testing, the cable that connected to the baton and the score was broken, because the movement made the wires inside the HDMI cable disconnected to the wires of sensors'. So we give up the HDMI cable and move to more soft but can be easily soldered wires, then we made another one. (my solder skill really improved a lot)

For the max/Msp stage, I was wanted to just use the serial communication between ableton live and arduino at very first beginning. But I realized that we wanted more than just sent notes to ableton, so I tired to use max/Msp to build a bridge to link two things and transfer the values of the sensors and make them to be used for any purpose that we want.
The roadblocks that we met is hard to map it in ableton live, because we required ableton's API for doing that, which has limitations to control things. So I changed it to sending signals(like serial communication) to link the max/Msp, and map the values of on/off of tracks, sound and notes.
Here is our code for max/MSP:

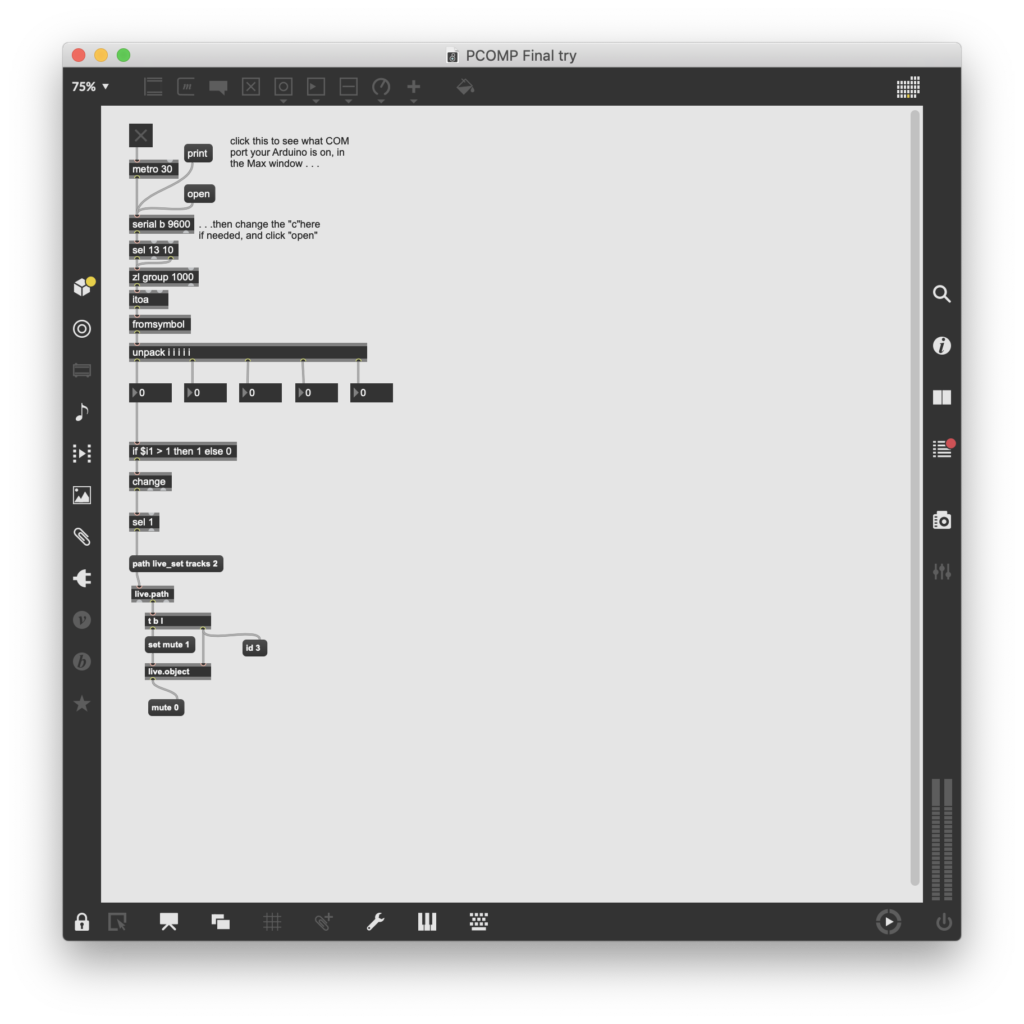
not fully functional code: required ableton's API for control things.
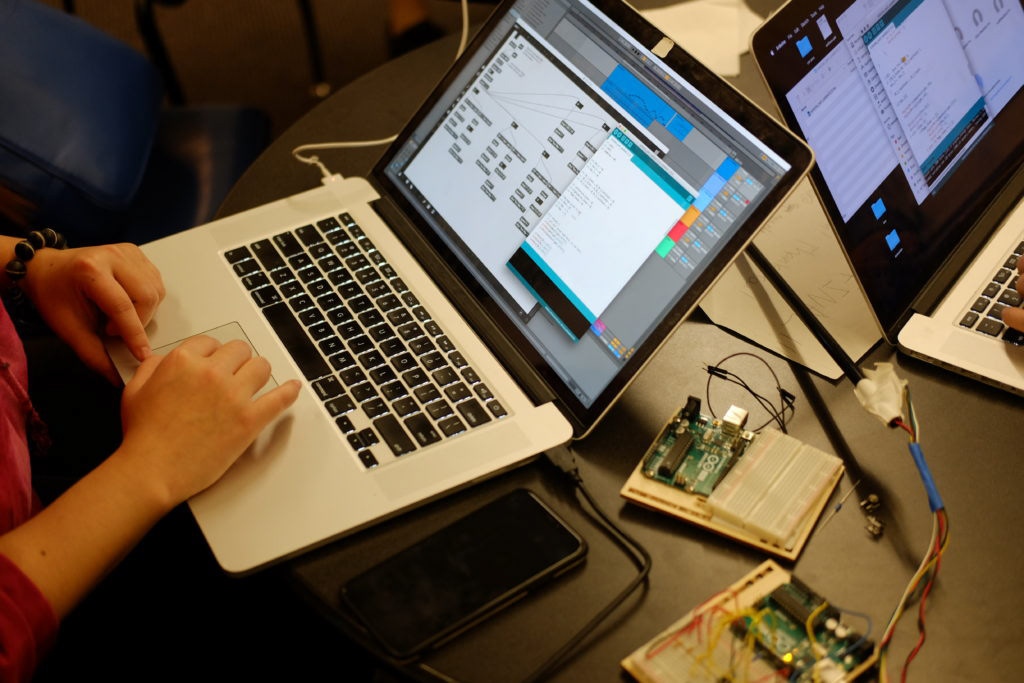
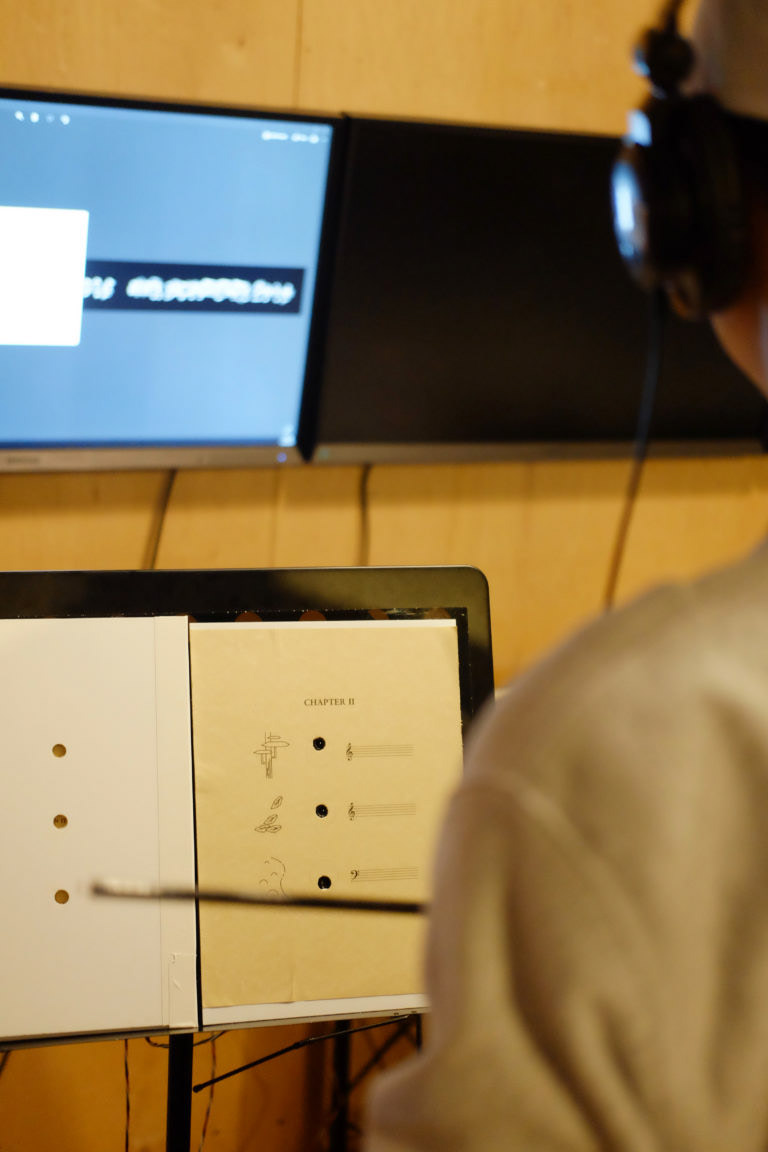
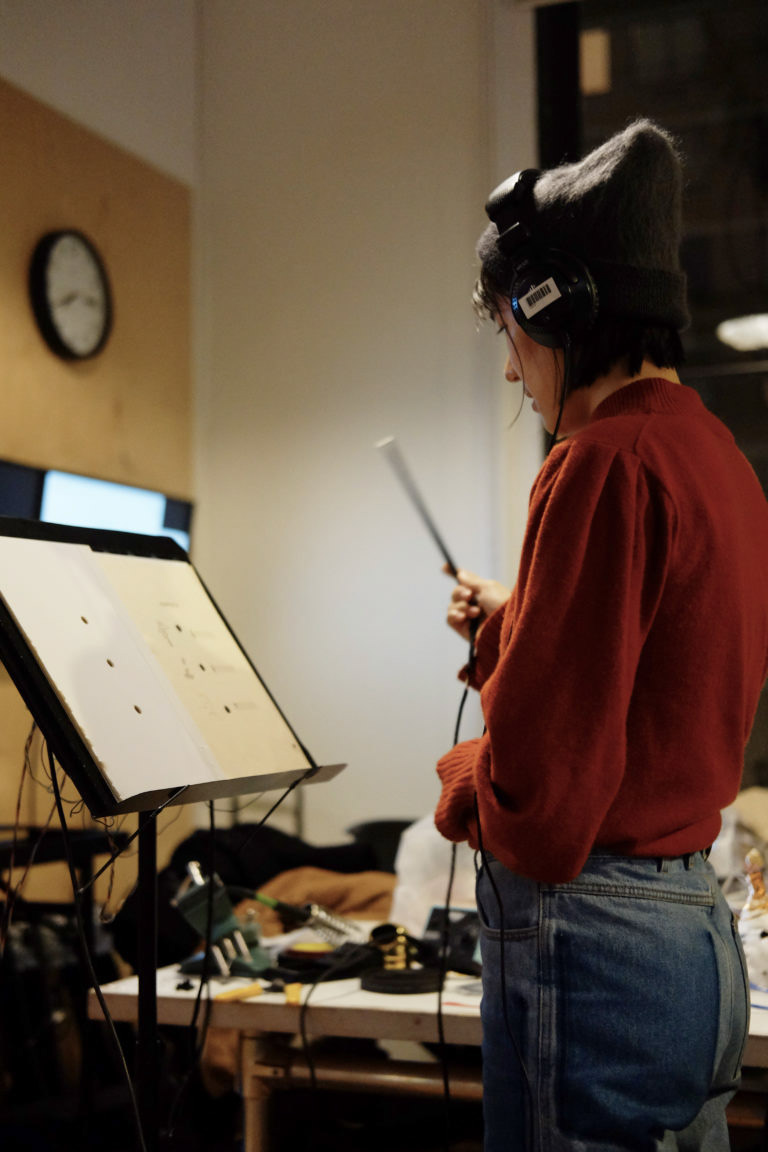
The second round of user testing:
AFTER THE WORK
There can be more feedback when user play our project. Like rolling of the painting, light movement and so on. And the gestures of conducting the painting can be more reasonable.
What else can we do to a painting? Step on it? Tore it?
What else could be the place we need music?
Made by Chenyu Sun, Yunze Shi and Nianqi Zhang